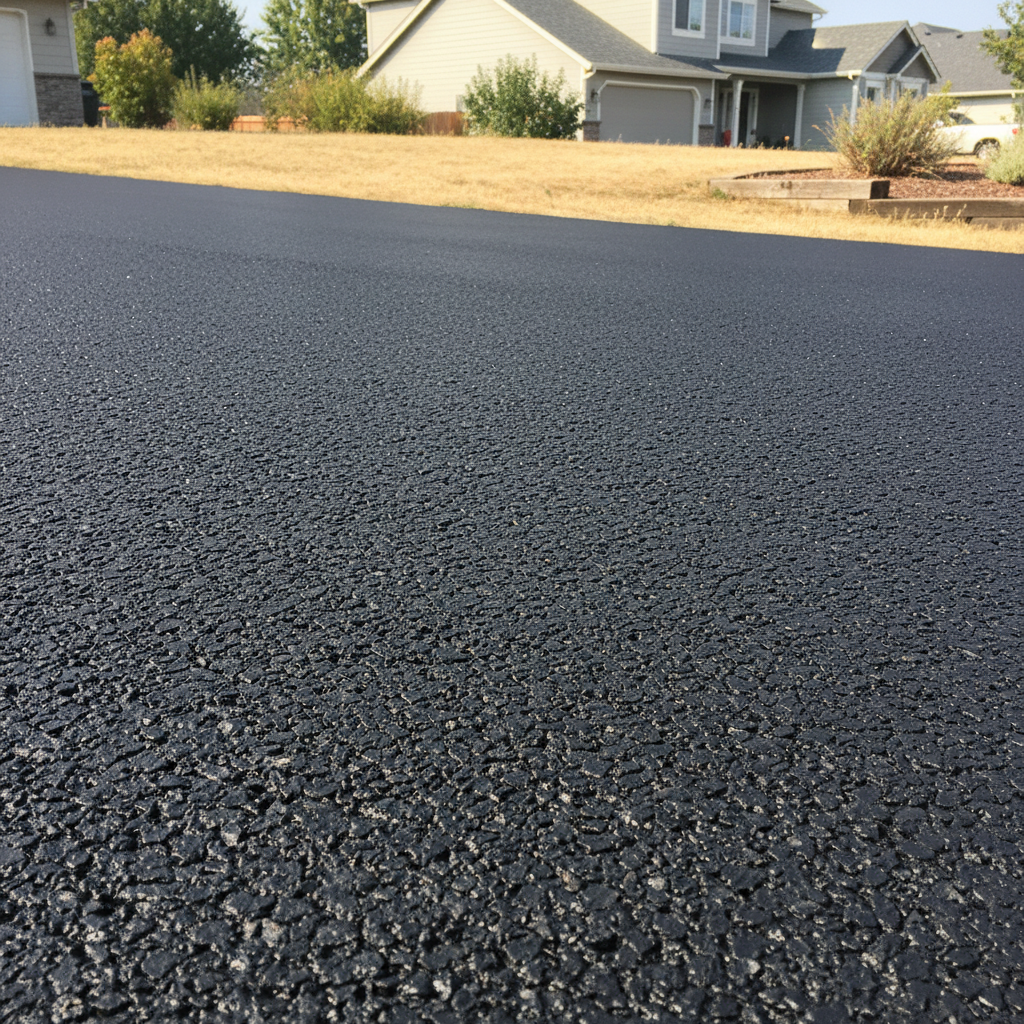
So, you're staring at your driveway, thinking it might be time for some asphalt work. Maybe it's a brand new install, or perhaps you're finally going to tackle that messy patchwork. It's a pretty big investment, and you definitely want to get it right. Let's chat about what you should think about before, during, and after your residential asphalt project right here in Kennewick.
Before You Even Think About Paving
Planning is probably the most important step, honestly. It's where you'll make all the big decisions. First off, what's the actual goal? Are you ripping out an old concrete slab and putting down asphalt instead? Or is this a completely new driveway on untouched ground? The scope of work really dictates a lot.
You absolutely need to consider drainage. Seriously. We get those heavy spring rains and winter thaws around here, and if your driveway isn't sloped correctly, you're going to end up with standing water. That's a fast track to asphalt failure, believe me. Water seeping under the surface? That's a killer. A good contractor will always factor in the slope and make sure water flows away from your house and foundation. This isn't a DIY job; you really need an expert eye for proper grading and base prep.
And speaking of base prep, that's another spot where you just shouldn't cut corners. Here in Kennewick, especially in some of the older neighborhoods with that heavy clay soil, a solid, well-compacted aggregate base isn't just a good idea — it's essential. If the base isn't right, your asphalt won't last, no matter how good the top layer looks. You'll start seeing cracks, dips, and potholes way sooner than you should.
Also, don't forget your budget. Asphalt is usually cheaper upfront than concrete, but it does need more regular maintenance. Factor in sealcoating every few years when you're crunching those numbers.
During the Project: What to Expect and When to Step Back
Once you've hired a reputable contractor (and I really can't stress that enough – check references, look at their past work, and make sure they're licensed and insured), the actual paving process moves pretty fast. Here's a quick rundown of what you'll typically see:
- Excavation and Grading: They'll take out any old material and then shape the ground to make sure water drains properly. This is where the heavy machinery really gets to work.
- Base Layer: Crushed aggregate (like gravel) goes down and gets compacted. This is your foundation. It needs to be thick enough for the traffic you expect – a standard residential driveway usually needs about 6-8 inches of compacted base.
- Binder Layer (Optional, but Recommended): For thicker driveways, they might put down a binder layer, which is a coarser asphalt mix, before the final surface layer. This just adds more strength and stability.
- Surface Layer: This is the smooth, black asphalt you actually see. It's a finer mix, designed for a uniform finish and durability. They lay it hot, then compact it with rollers.
What can you do during all this? Mostly, just stay out of the way! Let the pros do their thing. Ask questions if you have them, but please don't interfere with the crew's work. They're dealing with hot, heavy materials and precise equipment. Your main job is to make sure they can access the site and maybe, just maybe, provide some cold drinks on a hot Kennewick summer day.
DIY during this phase? Forget about it. Unless you own a paver, rollers, and have years of experience, you're not laying asphalt. Even patching small areas with cold patch is just a temporary fix, not a long-term solution.
After the Paving: Protecting Your Investment
Okay, the new driveway is down, and it looks fantastic. So, what's next? The first thing is patience. Don't drive on it right away. Your contractor will give you specific instructions, but generally, you'll need to wait at least 24-72 hours, sometimes longer if you have heavier vehicles. The asphalt just needs time to cure and harden.
For the first 6-12 months, be gentle. Try to avoid parking heavy vehicles (like RVs or boats) in the exact same spot for long periods, especially when it's hot out. The asphalt is still a bit pliable, you know? And don't turn your steering wheel sharply while you're sitting still on the new surface; that can cause scuff marks.
Maintenance is truly key to making it last. Here's what you can realistically do yourself:
- Keep it Clean: Sweep off dirt, leaves, and other debris regularly. This stops organic matter from breaking down and staining the surface, and it keeps water from pooling.
- Address Spills Immediately: Oil, gas, and other chemicals can soften and degrade asphalt. Clean them up quickly with an absorbent material and some mild detergent.
- Light Crack Filling: For really small, hairline cracks (less than a quarter-inch wide), you can use an asphalt crack filler from a home improvement store. Just follow the directions carefully. This is a temporary fix to keep water out, not a structural repair.
When should you call a pro like Alpha Paving Solutions? For anything more significant than a hairline crack, definitely. If you start seeing alligator cracking (that network of small cracks that looks like alligator skin), potholes, noticeable depressions, or large, wide cracks, that's beyond DIY. These issues usually point to a problem with the base or subgrade, and a professional needs to assess and repair them properly. Also, sealcoating is a job best left to the experts. Doing it right requires specific equipment, proper surface preparation, and knowing how to apply the material evenly for the best protection and curb appeal.
Your asphalt driveway is an important part of your home's curb appeal and how well it functions. Treat it right, and it'll serve you well for many, many years.