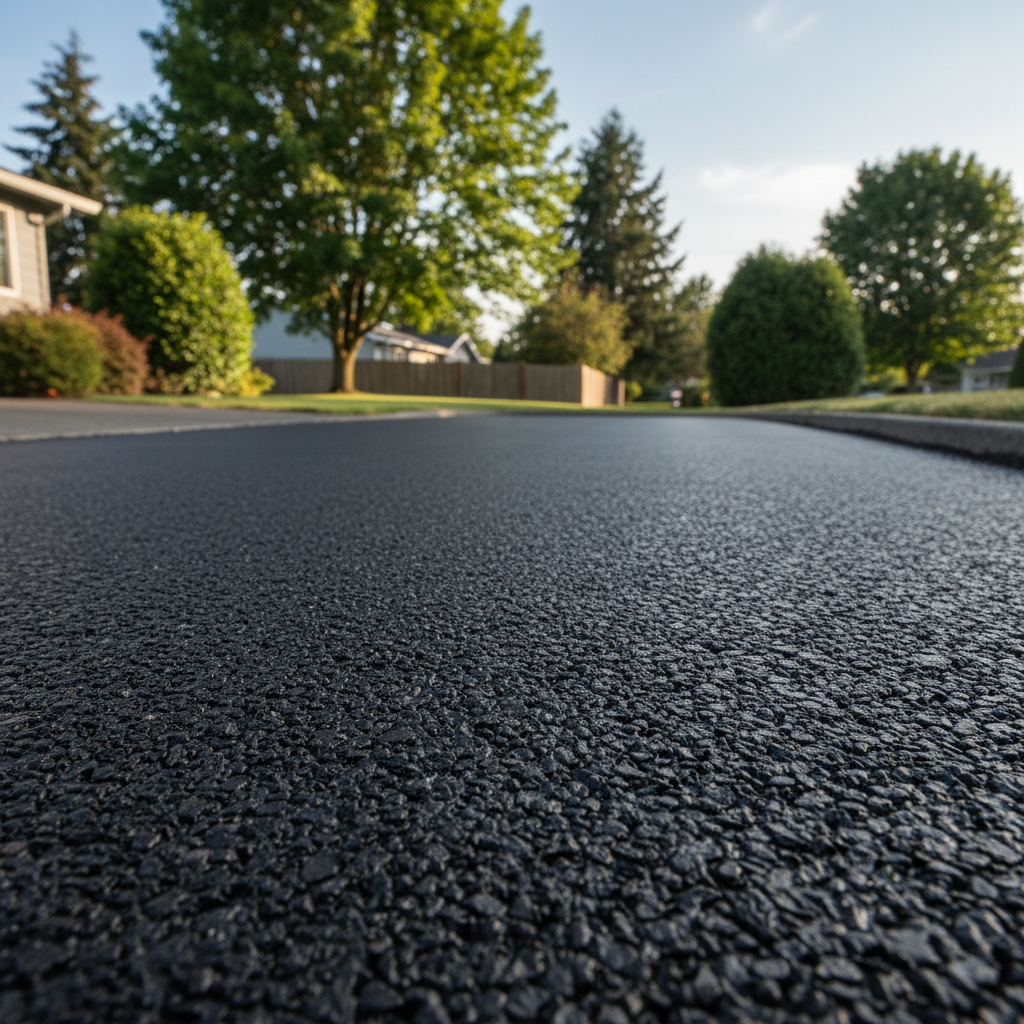
Thinking About Paving Your Own Driveway? Read This First.
So, you're eyeing that gravel or dirt patch and thinking, 'Hey, maybe I can just pave this myself.' I totally get it. We all love saving a buck and feeling proud of a job we've done ourselves. But when it comes to asphalt paving, especially for something as permanent as your driveway, there's a huge difference between a weekend project and a job that'll actually last decades. Let's really dig into what you'd be getting into.
Before You Even Think About Shovels and Rollers
The groundwork, and I mean literally, is everything. You can't just dump asphalt on top of your existing dirt. That's a recipe for cracks, potholes, and a whole lot of regret down the road. Here's what absolutely has to happen before any asphalt truck even considers showing up:
- Excavation: You've got to dig out the old stuff. How deep? Well, that depends on your soil and what you're paving. For a standard driveway, you're usually looking at about 8-12 inches. That's a ton of dirt to move, and you'll need the right equipment for it, not just a garden spade.
- Subgrade Preparation: Once you've dug it out, the ground underneath needs serious compaction. And I mean *really* compacted. If it's not firm and stable, your asphalt will settle unevenly. This is where a vibratory plate compactor comes in handy.
- Drainage: This is huge, especially with our Kennewick winters and those occasional heavy rains. Water is asphalt's absolute worst enemy. You need to make sure water will shed away from your home and not just pool on the driveway. Proper grading is essential, obviously. Sometimes, you might even need to put in a French drain or a catch basin.
- Base Layer: This is typically crushed aggregate – think gravel, but specific sizes, usually 3/4 inch minus. You'll lay this down in lifts (that's layers, for the uninitiated), wetting and compacting each one. This base is what gives your asphalt its strength and stability, after all. It's got to be thick – 6-8 inches for a residential driveway – and perfectly level.
Can you do all this yourself? Sure, if you've got the heavy equipment, the know-how, and a whole lot of free time. Renting a mini-excavator, a skid steer, and a vibratory roller isn't cheap, and operating them safely and effectively takes practice. Most homeowners find this part alone is enough to pick up the phone and call a pro.
The Asphalt Laying Process: Hot Mix is No Joke
Now, let's talk about the actual asphalt. You're not just buying bags of cold patch from the hardware store for a whole driveway, are you? You're talking about hot mix asphalt, delivered by a specialized truck. This stuff is hot – usually around 300 degrees Fahrenheit – and it starts cooling and hardening the second it hits the air. That's a pretty tight deadline!
- Spreading: You need to spread this hot material quickly and evenly. A paving machine does this perfectly, but by hand, it's a frantic race against the clock with rakes and shovels.
- Compaction: Immediately after spreading, you absolutely have to compact it. This isn't just rolling over it with your car, by the way. You need a heavy-duty roller, sometimes multiple passes, to get the right density. If it's not compacted enough, it'll be weak and prone to cracking. If it's over-compacted, you can actually damage the aggregate.
- Thickness: A good residential asphalt surface should be at least 2-3 inches thick after compaction. Anything less, and you're just asking for trouble.
This is where the DIY dream often turns into a nightmare. Getting hot asphalt delivered in small enough batches for one person to handle before it cools is nearly impossible. And the equipment for spreading and compacting it properly is expensive and specialized. This is definitely a job for Alpha Paving Solutions or another experienced paving crew, trust me.
After the Paving: Curing and Care
Once the asphalt is down, it's not quite ready for prime time. It needs to cure. This means:
- Stay Off It: For at least 24-48 hours, sometimes longer depending on the weather and mix, you shouldn't drive on it. And even then, be gentle. No sharp turns, no heavy vehicles for a week or two.
- Sealcoating: After about 6-12 months, your new asphalt will need sealcoating. This protects it from UV rays, water, and chemicals like oil and gas. It's a critical step to extend your driveway's life. You can absolutely DIY sealcoating, but make sure you clean the surface thoroughly first and apply it evenly.
- Ongoing Maintenance: Keep it clean. Sweep off dirt and debris. Address any small cracks or potholes as soon as they pop up. Our local climate, with its hot summers and freezing winters, can really put stress on asphalt. Catching issues early saves you big money later, doesn't it? For example, in areas like Canyon Lakes, where you might have heavier traffic or larger driveways, regular checks are even more important.
So, what can you realistically DIY? Small patch repairs, crack filling, and sealcoating are definitely within a homeowner's reach. But for a full new driveway or a significant resurfacing project, you're almost always better off calling in professionals. We've got the equipment, the trained crews, and the experience to get the job done right the first time, saving you headaches and money in the long run.